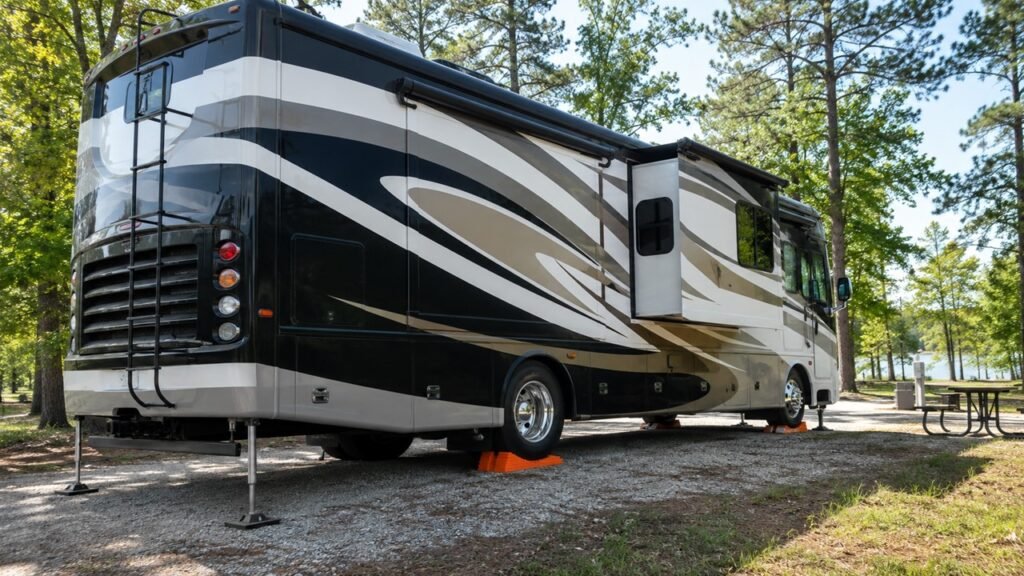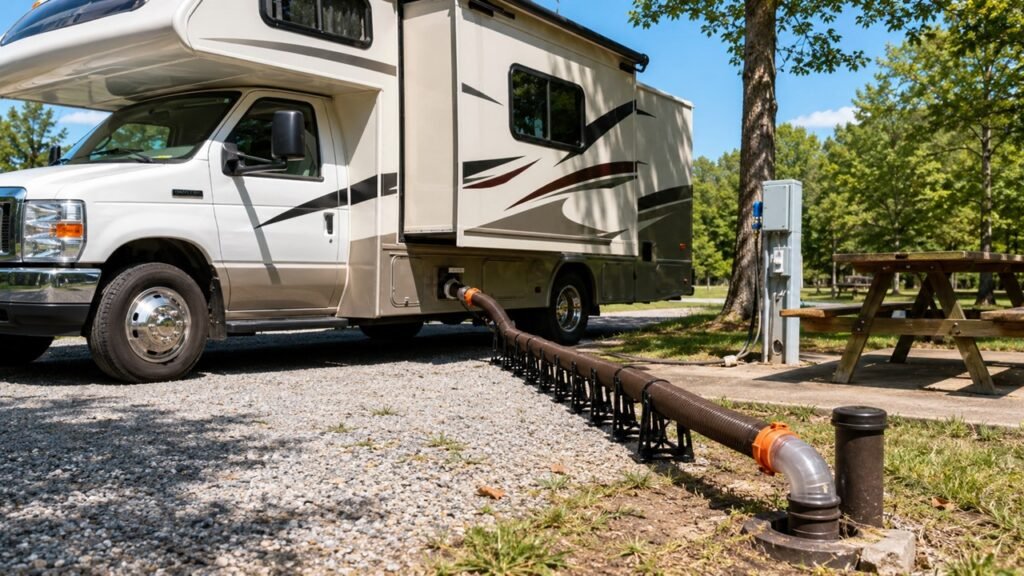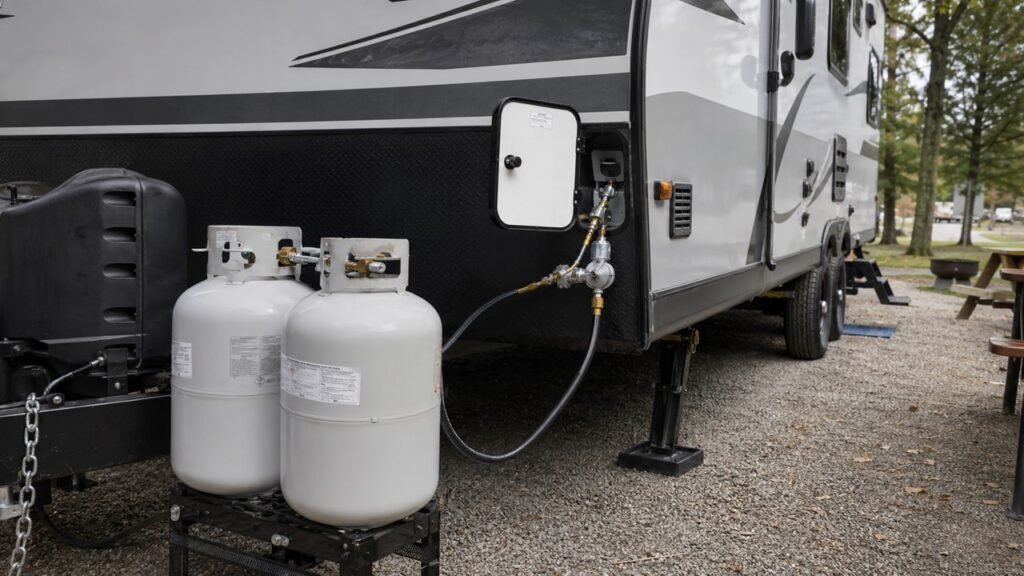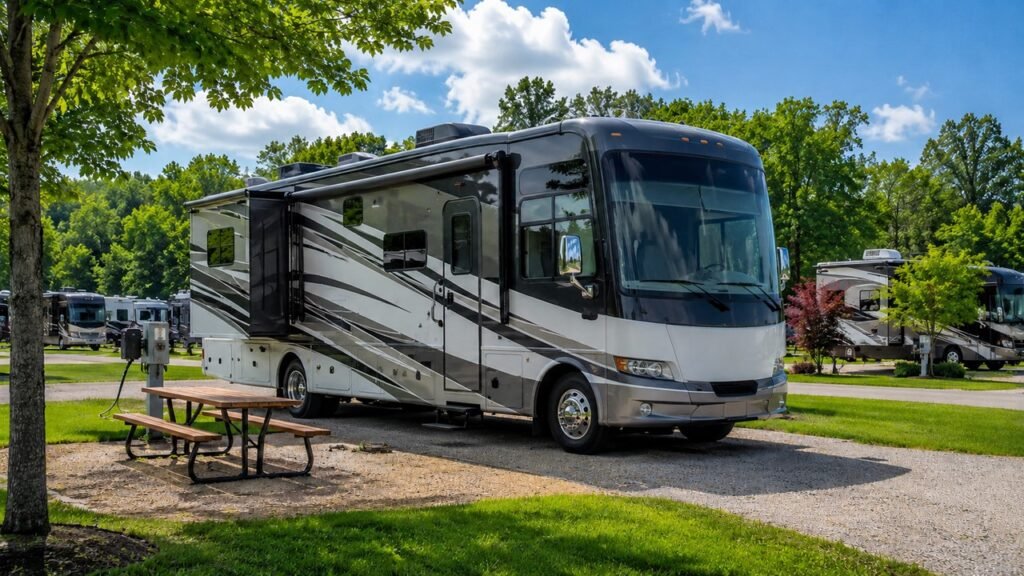
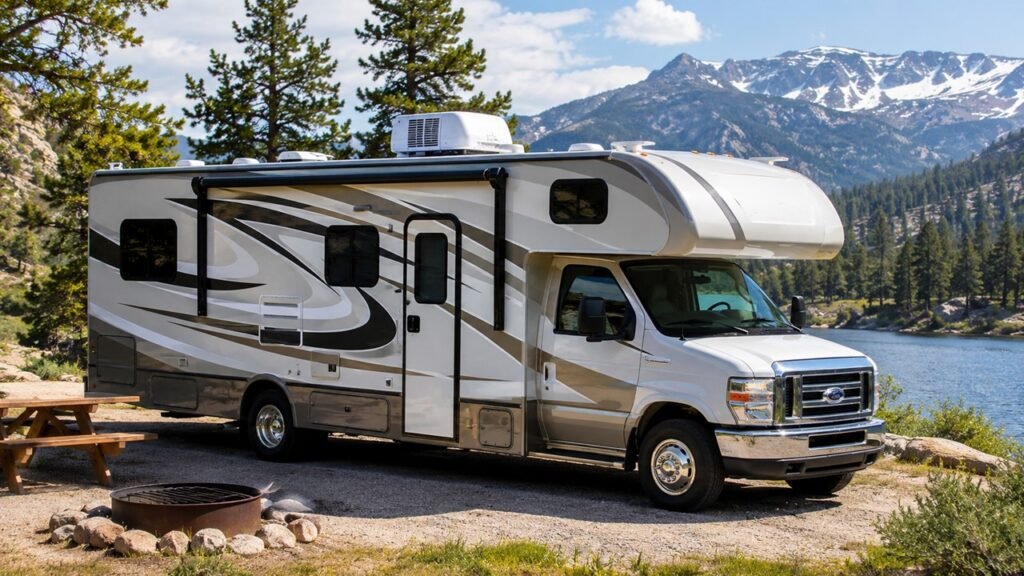
An RV airflow and humidity system works by moving indoor air through the air conditioner, vents, ducts, fans, and ventilation points while removing moisture through condensation, exhaust, and sometimes a dehumidifier. The rooftop AC pulls warm, humid air across cold evaporator coils, cools it, removes some water from it, and sends the drier air back into the RV.
In this guide, we’ll walk through how RV airflow works, how humidity is controlled, why your RV can feel cold but still damp, and what you can do to keep your camper more comfortable, dry, and healthy.
Key Takeaways
- RV airflow depends on return air, filters, blower fans, ducts, vents, and roof AC design.
- RV air conditioners cool the air and remove some humidity at the same time.
- Moisture leaves the air when warm humid air touches cold evaporator coils.
- Dirty filters, leaky ducts, blocked vents, and poor fan settings can reduce comfort.
- A good indoor RV humidity level is usually around 35% to 55%.
- High humidity can cause condensation, musty smells, mold, mildew, and damp bedding.
- A portable dehumidifier is often helpful in rainy or humid camping conditions.
- Proper airflow and moisture control make your RV feel cooler without overworking the AC.
What Is an RV Airflow and Humidity System?
An RV airflow and humidity system is not usually one single machine. Instead, it is a group of parts working together to move air, remove heat, reduce moisture, and keep the living space comfortable.
The main parts include the rooftop air conditioner, return air intake, air filter, evaporator coil, blower fan, plenum, ducts, ceiling vents, roof vents, exhaust fans, windows, seals, and sometimes a portable dehumidifier. Each part has a different job, but they all affect how the RV feels inside.
Here’s the simple way to think about it. Airflow controls where the air goes. Humidity control manages how much moisture stays in that air. You need both to feel comfortable.
That’s why an RV can sometimes feel cool but still sticky. The AC may be lowering the temperature, but it may not be removing enough moisture. On the other hand, a dehumidifier may dry the air, but it will not move cool air through every room like a ducted AC system.
In a small RV, camper, travel trailer, or fifth wheel, this balance matters even more. There is less air volume inside, so cooking, showering, breathing, wet clothes, pets, and rainy weather can raise humidity quickly.
How Does RV Airflow Work?
RV airflow works by pulling warm indoor air into the AC return, passing it through a filter and across the evaporator coil, then pushing cooled air back into the cabin through direct vents or ceiling ducts. The better this air moves, the more even and comfortable the RV feels.
Warm Air Enters Through the Return Intake
The airflow cycle starts at the return air intake. This is usually located on the ceiling assembly below the rooftop AC unit. When the AC runs, the blower fan pulls warm air from inside the RV into this return area.
Before the air reaches the cooling parts, it passes through an air filter. This filter catches dust, pet hair, lint, and debris. That protects the coil and helps keep the air cleaner.
However, the filter can also become a problem if it gets dirty. A clogged filter restricts airflow, which makes the AC work harder. It can also reduce cooling, increase humidity, and even cause the evaporator coil to freeze.
The return intake should always stay open. Do not cover it with bedding, storage bins, ceiling decorations, or anything else. If the AC cannot pull enough air in, it cannot push enough air out.
The Blower Fan Moves Air Across the Evaporator Coil
The blower fan is the part that actually moves air through the indoor side of the AC system. It pulls warm cabin air in and pushes cooled air back out.
A common misunderstanding is that an RV air conditioner “creates cold air.” Technically, it removes heat from the indoor air. The refrigerant inside the evaporator coil absorbs heat from the passing air. As heat is removed, the air temperature drops.
The fan speed affects this process. High fan speed moves more air quickly, which can help in extreme heat. Low fan speed moves air more slowly across the coil, which can help the AC remove more moisture in humid conditions.
That is why fan settings matter. Airflow is not just about blowing harder. It is about moving the right amount of air across the coil and into the RV.
Cooled Air Moves Into the Cabin
After air passes over the evaporator coil, it moves back into the RV as cooled supply air. How it enters the living space depends on your RV’s AC setup.
A non-ducted RV AC usually blows air directly from the ceiling unit into the room. These systems are common in smaller campers and simpler RVs. They are direct and powerful, but they may not cool distant areas evenly.
A ducted RV AC sends cooled air through ceiling ducts. These ducts carry air to multiple vents in the bedroom, kitchen, bathroom, and living area. This setup usually provides better whole-RV comfort, especially in larger travel trailers, fifth wheels, and motorhomes.
However, ducted systems depend heavily on proper sealing. If air leaks into the ceiling cavity before reaching the vents, the system loses performance.
Vents Distribute Air Around the RV
The ceiling vents are where you feel the final result of the airflow system. They deliver cooled air into different parts of the RV.
Some vents may blow stronger than others. This can happen because of duct length, bends, poor sealing, crushed ducts, or vent placement. Vents closer to the AC often feel stronger, while vents farther away may feel weaker.
You can adjust some vents to aim air where you need it. However, avoid closing too many vents at once. Closing several vents can increase pressure inside the ductwork and may reduce system performance.
The goal is balanced airflow, not forced airflow. You want cool air moving throughout the RV without creating too much resistance inside the system.
Main Parts That Control RV Airflow
Every airflow part has a specific job. When one part gets dirty, blocked, loose, or poorly sealed, the whole RV can feel warmer, stuffier, or less comfortable.
| Part | What It Does | Common Problem |
| Return Air Intake | Pulls warm cabin air into the AC | Blocked by dust, storage, or objects |
| Air Filter | Traps dust before air reaches the coil | Dirty filter restricts airflow |
| Evaporator Coil | Absorbs heat and removes some moisture | Can freeze or get dirty |
| Blower Fan | Moves air through the indoor AC side | Weak airflow if dirty or failing |
| Plenum | Directs air from the AC into vents or ducts | Air leaks and turbulence reduce performance |
| Ductwork | Carries cooled air across the RV | Gaps, crushed ducts, and poor sealing |
| Ceiling Vents | Deliver cooled air into rooms | Closed, blocked, or poorly aimed vents |
| Roof Vents | Let hot or stale air escape | Can pull humid air in if misused |
| Exhaust Fans | Remove steam, odors, and moisture | Weak fan or not used long enough |
| Dehumidifier | Removes extra moisture from indoor air | Needs power, drainage, and cleaning |
A lot of RV cooling complaints start with simple airflow restrictions. Before assuming the AC is bad, it is worth checking the filter, vents, ducts, and return air path.
How Does RV Humidity Control Work?
RV humidity control works by removing moisture from indoor air through AC condensation, ventilation, and dehumidification. Your rooftop AC helps, but it may not always remove enough moisture in humid climates or rainy weather.
Warm Moist Air Hits the Cold Evaporator Coil
Indoor air always carries some moisture. When you breathe, cook, shower, boil water, bring in wet shoes, or dry towels inside, you add even more moisture to the air.
When the AC runs, it pulls this warm moist air across the evaporator coil. The coil is cold because refrigerant is absorbing heat from the air.
As the air cools down, it can no longer hold as much water vapor. This is where humidity removal begins.
Moisture Condenses Into Water
When warm humid air gets cold enough, moisture turns into water droplets. This point is called the dew point.
You do not need to make this too technical. Just picture a cold drink sweating on a hot day. The water on the outside of the glass did not come from inside the glass. It came from the air around it.
The same thing happens inside your RV AC. Moisture from the indoor air collects on the cold evaporator coil as water droplets.
This process is why your AC can cool and dehumidify at the same time.
Condensate Drains Outside the RV
After moisture collects on the evaporator coil, it drips into a drain pan or drain path. From there, it usually drains outside onto the RV roof and runs off.
Seeing water on the roof while the AC runs is often normal. It usually means the AC is removing moisture from the air.
However, water dripping inside the RV is not normal. That may point to a clogged drain path, frozen coil, damaged gasket, poor installation, or another issue that needs attention.
Dry Cooler Air Returns to the Cabin
After heat and some moisture are removed, the air returns to the RV cooler and drier than before. This helps the RV feel more comfortable.
But there is a limit. An RV AC is not the same as a dedicated dehumidifier. Its main job is cooling. Moisture removal is part of the cooling process, but it may not be enough when outdoor humidity is very high.
That is why many RV owners use both an AC and a small dehumidifier. The AC controls heat, while the dehumidifier handles moisture more directly.
RV Airflow vs Humidity: What’s the Difference?
Airflow and humidity are connected, but they are not the same thing. Airflow is about movement, while humidity is about moisture inside the air.
| Feature | RV Airflow | RV Humidity Control |
| Main Goal | Move air through the RV | Remove excess moisture |
| Main Equipment | Fan, ducts, vents, AC blower | AC coils, dehumidifier, ventilation |
| Comfort Problem | Hot spots or weak vents | Sticky air, damp bedding, condensation |
| Common Cause | Dirty filter, duct leaks, blocked vents | Oversized AC, humid weather, poor ventilation |
| Best Fix | Improve circulation and seal leaks | Slow cooling, dehumidify, reduce moisture sources |
This difference matters because you can have good airflow but poor humidity control. You can also have low humidity but poor air circulation.
For example, a bedroom may feel hot because the vent is weak. That is an airflow issue. But if the whole RV feels cold and clammy, that is usually a humidity issue.
The most comfortable RV setup handles both.
Why RVs Feel Humid Even When the AC Is Running
An RV can feel cold and humid when the air conditioner lowers the temperature faster than it removes moisture. This is common in small RVs, humid climates, rainy weather, and campers with oversized AC units.
The AC May Be Cooling Too Quickly
If the AC is too powerful for the RV space, it can cool the room very quickly. That may sound like a good thing, but it can create a humidity problem.
The thermostat may shut the compressor off before the coil has enough time to remove moisture. As a result, the air gets cold, but the humidity stays high.
This is why an RV can feel like a “meat locker.” The temperature is low, but the air still feels damp and uncomfortable.
Slower cooling often removes humidity better. That is one reason low fan speed or dry mode can help in humid weather.
The Fan May Be Running Continuously
Many RV owners leave the AC fan set to “On” because they like steady air movement. That can help circulation, but it may hurt humidity control.
When the compressor shuts off, the evaporator coil may still be wet. If the fan keeps running, it can blow air over that wet coil and push some moisture back into the RV.
This can make humidity rise, especially at night when the compressor cycles less often.
Using “Auto” mode often works better for humidity because the fan cycles with the compressor. When the compressor stops, the fan stops too, reducing the chance of re-evaporating moisture from the coil.
Outdoor Humidity May Be Entering the RV
Your RV is not sealed like a house. Humid outdoor air can sneak in through doors, windows, slide seals, roof vents, plumbing openings, and small gaps.
Every time you open the door, humid air enters. In rainy weather, even roof vents can bring in more moisture than they remove.
This does not mean you should never ventilate. It means you should ventilate at the right time. If the outside air is cooler and drier, ventilation helps. If the outside air is hot and wet, a dehumidifier is usually better.
Daily Activities Add Moisture
RVs are small spaces, so normal activities add moisture quickly.
Common indoor moisture sources include:
- Breathing and sleeping inside the RV
- Cooking meals
- Boiling water
- Showering
- Wet towels
- Damp clothes
- Pets
- Wet shoes
- Rain gear
- Propane appliances
- Leaks around windows, roof, or slide-outs
Even one shower can add a lot of moisture to a small camper. That is why bathroom ventilation matters so much.
What Is the Ideal Humidity Level Inside an RV?
Most RV interiors feel best when relative humidity stays around 35% to 55%. This range is comfortable for many people and helps reduce the chance of condensation, musty smells, mold, and mildew.
Here is a simple way to understand indoor RV humidity:
- Below 30%: the air may feel too dry.
- Around 35% to 55%: this is a comfortable range for most RVs.
- Above 60%: condensation and musty odors become more likely.
- Above 70%: bedding, cabinets, walls, and hidden corners can stay damp.
A small digital hygrometer is one of the easiest tools to keep inside an RV. It shows your indoor humidity level, so you are not guessing.
This is especially useful at night. Many RVs become more humid overnight because people are sleeping, breathing, and keeping windows closed. In the morning, you may see condensation on windows or around metal frames.
If your hygrometer often shows 60% or higher, it is time to improve ventilation, run the AC differently, or use a dehumidifier.
How Ducted RV Air Conditioning Affects Airflow and Humidity
A ducted RV air conditioner can cool the whole coach more evenly, but only when the plenum, ducts, and vents are properly sealed and balanced. If air leaks into the ceiling cavity, comfort drops quickly.
What the Plenum Does
The plenum is the air chamber between the rooftop AC unit and the ceiling assembly. It helps direct supply air into the ductwork or direct vents.
In a perfect setup, cooled air leaves the AC and moves smoothly into the duct system. In real RVs, the plenum may have gaps, rough edges, poor separation, or leaky connections.
When the plenum is poorly sealed, cold air may escape where it should not go. This can reduce airflow at the vents and make the AC seem weaker than it really is.
Why Duct Leaks Reduce Cooling
Duct leaks are common in many RVs. Sometimes the duct tape or factory sealant around the AC opening is loose. Sometimes ducts have gaps, crushed areas, or rough transitions.
When this happens, cooled air can blow into the ceiling cavity instead of the living space. You are still paying for the cooling, but not all of it reaches the rooms.
This can also affect humidity control. If the AC cannot move enough air across the cabin, some areas may stay warm and damp.
Sealing accessible duct gaps with proper foil HVAC tape can improve airflow in many RVs. Just make sure you do not block any designed drain paths or service areas.
Why Some Vents Blow Harder Than Others
It is normal for some RV vents to feel stronger than others. Vents closer to the AC usually get more airflow. Vents farther down the duct may feel weaker.
Other causes include:
- Long duct runs
- Sharp bends
- Poorly cut vent openings
- Loose duct connections
- Crushed duct sections
- Closed or restricted vents
- Poor plenum design
If one room always stays hot, start with the basics. Check the vent position, filter, return air path, and duct sealing before assuming the AC is too small.
How Airflow Inserts or Diverters Help
Some RV owners install airflow inserts or diverters inside the AC plenum. These inserts are designed to reduce turbulence and guide more cooled air into the duct system.
Products like RV airflow modules are often marketed as a way to improve ducted AC performance. Some manufacturers claim stronger vent airflow and better air balance after installation.
They can help in the right setup, but they are not magic. They work best when the AC is healthy, the ducts are reasonably sealed, and the system is installed correctly.
Think of them as an airflow improvement option, not a replacement for basic maintenance.
How Ventilation Helps Control RV Moisture
Ventilation helps control RV moisture by removing humid indoor air and replacing it with outside air. It works best when the moisture source is temporary, such as shower steam or cooking vapor.
Good times to ventilate include:
- While cooking
- After showering
- When drying wet towels
- When using the bathroom
- After several people sleep inside overnight
- When condensation appears on windows
- When the indoor air smells stale
- When outside air is drier than inside air
Bathroom fans and roof fans are especially useful because they remove moisture near the source. If you take a hot shower and leave the bathroom closed, that moisture spreads through the RV.
However, ventilation has one important limit. It only helps if outside air is drier or at least useful for air exchange. In hot, humid, rainy weather, opening vents may bring in more moisture.
In that situation, close up the RV, run the AC wisely, and use a dehumidifier if needed.
AC Fan Settings and Humidity: Auto vs On vs Low
Your AC fan setting can change how dry or damp the RV feels. The wrong setting may cool the air but leave moisture behind.
| Fan Setting | What Happens | Best Use |
| Auto | Fan cycles with the compressor | Better humidity control in many RVs |
| On/Continuous | Fan keeps running after cooling stops | Better circulation, but may raise humidity |
| Low Fan | Moves air more slowly across the coil | Helps moisture removal in humid weather |
| High Fan | Moves more air and cools faster | Useful in extreme heat |
| Dry Mode | Prioritizes moisture removal if available | Best for damp climates |
| Fan Only | Circulates air without cooling | Useful for mild weather, not dehumidifying |
If your RV feels sticky, try using Auto instead of continuous fan. You can also try low fan speed if your AC allows it.
High fan speed is useful when the RV is extremely hot and you need fast cooling. But once the temperature is under control, a slower fan setting may help remove more moisture.
Dry mode, if your AC has it, is designed for humidity control. It usually runs the system in a way that removes more moisture without aggressively overcooling the room.
Common Signs Your RV Has Poor Airflow or Humidity Problems
Poor airflow and high humidity often show up in small ways before they become serious problems. Paying attention early can help prevent mold, smells, and AC trouble.
Poor airflow signs:
- Weak air from ceiling vents
- One room stays hotter than the rest
- AC runs constantly but comfort does not improve
- Filter gets dirty quickly
- Evaporator coil freezes
- Loud air turbulence near the ceiling unit
- Air feels strong at one vent and weak at another
- Bedroom or bathroom never cools properly
High humidity signs:
- Damp bedding
- Sticky indoor air
- Sweaty windows
- Musty smell
- Condensation around vents
- Moisture inside cabinets
- Mold or mildew in corners
- Damp clothes that never fully dry
- Water droplets on window frames
- Soft or musty storage areas
Do not ignore musty smells. In an RV, hidden moisture can collect behind furniture, under mattresses, around slide-outs, and inside cabinets.
How to Improve RV Airflow
Improving RV airflow usually starts with simple cleaning, sealing, and balancing. You do not always need a new AC unit to get better air movement.
Clean or Replace the AC Filter
The AC filter is one of the first things to check. A dirty filter reduces return airflow and makes the system work harder.
During heavy summer use, check the filter every couple of weeks. If you camp with pets, cook often, or stay in dusty places, check it even more often.
Most RV AC filters are washable foam filters. Let them dry fully before reinstalling them.
Keep Return Air Open
The return air intake needs clear space. If it is blocked, the AC cannot pull in enough warm air.
Avoid placing storage items, pillows, bedding, or decorations near the return grille. Also make sure the grille itself is clean and not packed with dust.
A strong supply side starts with a clear return side.
Open and Aim the Vents Properly
Check each ceiling vent and make sure it is open. Then aim the vents toward the areas that need more cooling.
Try not to close too many vents. It may seem like closing vents in one area will push more air elsewhere, but it can increase pressure and reduce overall efficiency.
Instead, slightly adjust vents to balance airflow. Small changes often work better than fully closing several vents.
Seal Duct Leaks With Foil HVAC Tape
If your RV has ducted AC, inspect accessible areas around the plenum and vent openings. Many RVs have small gaps where cooled air escapes.
Foil HVAC tape can help seal leaks around duct openings and plenum edges. Do not use regular cloth duct tape because it can dry out and fail over time.
If you are not comfortable opening the ceiling assembly, ask an RV technician to inspect the duct connections.
Clean the Evaporator and Condenser Coils
Dirty coils reduce heat transfer. When the evaporator coil is dirty, the AC may not cool or dehumidify properly. When the condenser coil is dirty, the system may struggle to release heat outside.
Coil cleaning is more involved than filter cleaning. Some RV owners do it themselves, but you need to be careful around fins, wiring, and sealed components.
If the AC is not cooling well after basic cleaning, a professional inspection is a smart move.
Use Small Fans to Move Air
Small fans can help with dead zones inside the RV. A clip-on fan, floor fan, or small bedroom fan can move cool air into corners where the AC vents do not reach well.
Fans do not remove humidity by themselves. However, they improve comfort and help air circulate around mattresses, cabinets, and closed-off spaces.
This can reduce damp pockets inside the RV.
How to Reduce Humidity Inside an RV
Reducing RV humidity means removing moisture, limiting moisture sources, and avoiding habits that push damp air back into the living space.
Here are practical ways to lower humidity:
- Run the AC fan on Auto in humid weather.
- Use low fan speed when you want better moisture removal.
- Use dry mode if your AC has it.
- Run a compact dehumidifier during rainy or humid camping.
- Use the bathroom fan during and after showers.
- Turn on the range vent or roof fan while cooking.
- Cover pots when boiling water.
- Dry towels outside when possible.
- Avoid storing damp clothes inside cabinets.
- Keep wet shoes near the door or outside.
- Open cabinet doors slightly during damp weather.
- Use moisture absorbers in closets and storage bays.
- Check window seals, roof seals, and slide seals.
- Keep mattresses slightly ventilated underneath.
- Watch humidity with a digital hygrometer.
A dehumidifier is especially helpful when the weather is cool but damp. In that situation, you may not want the AC running hard, but you still need moisture removed.
RV AC, Dehumidifier, or Vent Fan: Which One Should You Use?
Different tools solve different comfort problems. The AC is not always the best answer, and ventilation is not always enough.
| Situation | Best Tool | Why |
| Hot and moderately humid | RV AC | Cools air and removes some moisture |
| Cool but damp weather | Dehumidifier | Removes moisture without overcooling |
| Shower steam | Bathroom fan | Exhausts moisture at the source |
| Cooking moisture | Range vent or roof fan | Removes steam quickly |
| Rainy campground | Dehumidifier | Outdoor air may be too humid |
| Hot bedroom with weak vent | Small fan and duct check | Improves air movement |
| Window condensation | Dehumidifier and ventilation | Lowers indoor moisture |
| Musty closet | Moisture absorber and airflow | Helps with trapped damp air |
| Extreme heat | AC on high, then balanced settings | Cools down the RV faster |
| Sticky air at night | Auto fan and dehumidifier | Reduces moisture buildup |
The best setup often uses more than one tool. For example, you might run the AC for cooling, the bathroom fan after a shower, and a dehumidifier overnight.
How Condensation Forms Inside an RV
Condensation happens when warm moist indoor air touches a cooler surface. In an RV, that surface might be a window, wall, ceiling vent, metal frame, cabinet area, or slide-out trim.
Window Condensation
Windows are one of the most common places for RV condensation. Glass cools quickly at night, especially when outside temperatures drop.
When warm indoor air touches the cold glass, moisture turns into water droplets. This is why windows often look wet in the morning.
A little window condensation can be normal, but heavy daily condensation means indoor humidity is too high.
Wall and Cabinet Condensation
Condensation can also form on walls, inside cabinets, and behind furniture. These hidden areas are more concerning because they do not dry quickly.
RVs often have thin walls and limited insulation compared with houses. Cold exterior surfaces can meet warm humid interior air, creating damp spots.
Keep cabinet doors slightly open during humid weather. Also avoid pushing mattresses and cushions tightly against cold exterior walls without airflow.
AC Vent Condensation
Sometimes condensation forms around AC vents. This can happen when cold supply air meets warm humid cabin air.
If the RV is very humid, vent surfaces may become cold enough for moisture to form on them. Improving humidity control usually helps.
However, if water is dripping steadily from the AC assembly, that may not be normal condensation. It could be a drain issue, frozen coil, roof gasket problem, or installation issue.
When Condensation Means a Leak
Not every moisture problem is caused by humidity. Sometimes water inside the RV comes from a roof leak, window leak, plumbing leak, or slide seal problem.
Look for warning signs like stained ceiling panels, soft wall areas, bubbling trim, wet carpet, or water appearing after rain.
If moisture shows up in one specific place after storms, do not assume it is just condensation. Inspect it quickly.
Troubleshooting RV Airflow and Humidity Problems
When your RV feels hot, damp, sticky, or unevenly cooled, start with the simplest checks first. Many problems come from airflow restrictions, dirty filters, poor fan settings, or excess indoor moisture.
| Problem | Likely Cause | What to Check First |
| Weak airflow from vents | Dirty filter or duct leak | Filter, vents, plenum seal |
| RV feels cold but sticky | Compressor cycles too fast | Fan mode, thermostat, dehumidifier |
| AC coil freezes | Restricted airflow or low refrigerant | Filter, coil, fan, technician inspection |
| Musty smell | Moisture buildup or dirty AC | Filter, coils, drain pan, ducts |
| Water dripping inside | Drain issue or frozen coil | Condensate path and coil condition |
| Rear vents are weak | Long ducts or duct leakage | Duct sealing and vent balance |
| Humidity rises at night | Continuous fan re-wets coil | Use Auto fan or dehumidifier |
| One room stays hot | Poor vent balance | Vent direction, duct leak, small fan |
| Windows sweat every morning | Indoor humidity too high | Hygrometer, dehumidifier, ventilation |
| AC runs constantly | Heat gain or poor airflow | Filters, shade, ducts, coils |
Troubleshooting is easier when you separate airflow from humidity. Ask yourself this first: Is the air not moving well, or is the air moving but still too damp?
That one question can point you toward the right fix.
RV Airflow and Humidity Maintenance Checklist
A little maintenance goes a long way. RV comfort problems often build slowly because filters get dirty, ducts leak, vents get blocked, and moisture collects in hidden places.
Every trip:
- Check that the return air intake is clear.
- Feel airflow from each ceiling vent.
- Make sure vents are open and aimed properly.
- Watch indoor humidity with a hygrometer.
- Run exhaust fans during showers and cooking.
- Look for window condensation in the morning.
- Check for musty smells in cabinets and bedding areas.
Every few weeks during AC season:
- Clean the AC filter.
- Wipe dust from vent covers.
- Check the return grille for lint.
- Empty and clean the dehumidifier tank.
- Inspect around vents for condensation.
- Listen for unusual AC noises.
- Check that water is draining outside, not inside.
Seasonally:
- Clean or inspect evaporator and condenser coils.
- Inspect the roof AC gasket.
- Check accessible duct connections.
- Look for cracked roof sealant.
- Inspect slide seals and window seals.
- Clean bathroom and kitchen exhaust fans.
- Check hidden areas behind furniture and under mattresses.
- Test the AC before peak summer camping.
A simple routine like this helps prevent bigger problems later. It also makes your RV feel more comfortable without constantly lowering the thermostat.
Common Mistakes That Make RV Airflow and Humidity Worse
Many RV owners accidentally make airflow and humidity problems worse without realizing it. These mistakes are common, especially during hot or rainy camping.
Avoid these habits:
- Running the AC fan continuously in humid weather.
- Closing too many ceiling vents.
- Ignoring dirty AC filters.
- Blocking the return air intake.
- Leaving roof vents open during humid rain.
- Drying wet towels inside without ventilation.
- Cooking without using a vent fan.
- Taking hot showers without running the bathroom fan.
- Assuming cold air always means dry air.
- Using only moisture absorbers in severe humidity.
- Ignoring condensation inside cabinets.
- Parking in full sun without shades or window covers.
- Forgetting to inspect roof, window, and slide seals.
- Waiting too long to clean coils.
- Using a dehumidifier but not cleaning the tank or filter.
Small changes can make a big difference. Sometimes switching from continuous fan to Auto mode, cleaning the filter, and running a dehumidifier overnight can completely change how the RV feels.
When Should You Call an RV Technician?
Many RV airflow and humidity issues can be handled by the owner. Cleaning filters, opening vents, using a hygrometer, running exhaust fans, and using a dehumidifier are simple DIY steps.
However, some problems need professional help. RV air conditioners have electrical parts, sealed refrigerant systems, roof gaskets, and internal components that can be risky or difficult to repair without proper training.
Call an RV technician if:
- The AC repeatedly freezes after cleaning the filter.
- The compressor short-cycles often.
- The AC hums but does not cool.
- Water leaks inside from the ceiling unit.
- The breaker trips when the AC starts.
- You suspect a refrigerant problem.
- The blower fan sounds weak or damaged.
- The roof AC gasket may be leaking.
- Ductwork is damaged or inaccessible.
- The unit smells burnt or makes unusual noises.
- Cooling performance suddenly drops.
A technician can check refrigerant-related issues, electrical problems, coil condition, compressor operation, blower function, and installation problems. That is especially important if the AC is under warranty.
Final Thoughts
RV airflow and humidity control work together. Airflow moves cool air through the camper, while humidity control removes moisture so the air feels comfortable instead of sticky or damp.
Your rooftop AC plays a big role because it cools the air and removes some moisture through condensation. But it is not the only part of the system. Filters, ducts, vents, exhaust fans, seals, fan settings, ventilation habits, and dehumidifiers all affect how your RV feels.
If your RV feels hot, start by checking airflow. If it feels cold but sticky, start by checking humidity. And if you see condensation, musty smells, or damp bedding, do not ignore it.
A clean AC, open return air path, sealed ducts, smart fan settings, good ventilation, and a small dehumidifier can make your RV feel cooler, drier, and much more comfortable.
Related FAQs
How Does an RV AC Remove Humidity?
An RV AC removes humidity by pulling warm moist air across cold evaporator coils. Moisture condenses into water, drains outside, and cooler drier air returns to the RV.
Why Is My RV Cold but Still Humid?
Your RV may feel cold but humid if the AC cools too quickly without running long enough to remove moisture. Continuous fan mode can also blow moisture from wet coils back inside.
Should I Run My RV AC Fan on Auto or On?
Auto is usually better for humidity control because the fan stops when the compressor stops. Continuous fan mode improves circulation, but it can raise humidity in damp weather.
What Humidity Level Is Best for an RV?
A good indoor RV humidity level is usually around 35% to 55%. Above 60%, condensation, musty odors, mold, and mildew become more likely.
Do RV Airflow Inserts Really Help?
RV airflow inserts can help improve ducted airflow when the AC, plenum, and ducts are compatible. They work best when installed properly and paired with clean filters and sealed ducts.
Why Are Some RV Vents Not Blowing Strong Air?
Some vents may be weak because of long duct runs, duct leaks, closed vents, poor plenum sealing, crushed ducts, or a dirty filter restricting airflow.
Do I Need a Dehumidifier If I Have an RV AC?
You may need a dehumidifier if you camp in humid, rainy, or cool damp weather. An AC removes some moisture, but a dehumidifier is better for direct humidity control.
What Causes Condensation Inside an RV?
Condensation forms when warm moist air touches cold surfaces like windows, vents, walls, or metal frames. High indoor humidity makes condensation much more likely.
Can Poor Airflow Cause an RV AC to Freeze?
Yes, poor airflow can cause the evaporator coil to get too cold and freeze. Dirty filters, blocked vents, fan problems, or restricted return air can all contribute.
How Can I Keep My RV Dry Overnight?
Use a hygrometer, run a dehumidifier if needed, keep the AC fan on Auto, avoid drying wet items inside, and slightly improve airflow around windows, cabinets, and bedding.

Michael Carter is an experienced RV traveler who focuses on practical outdoor trips across the States. He writes clear, step-by-step guides and realistic reviews based on real travel needs. His aim is to help RV and camper owners plan informed, simpler journeys with confidence.