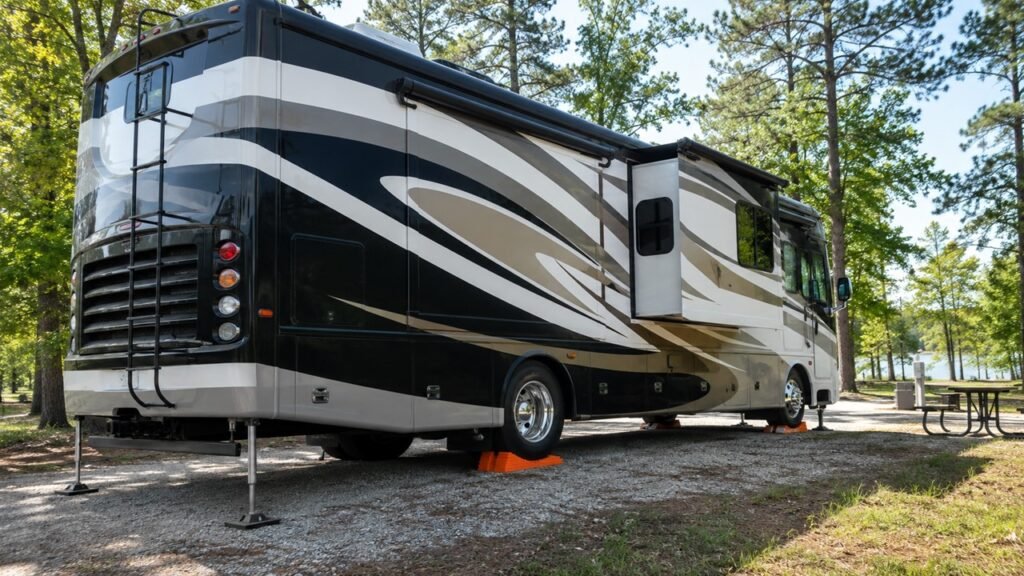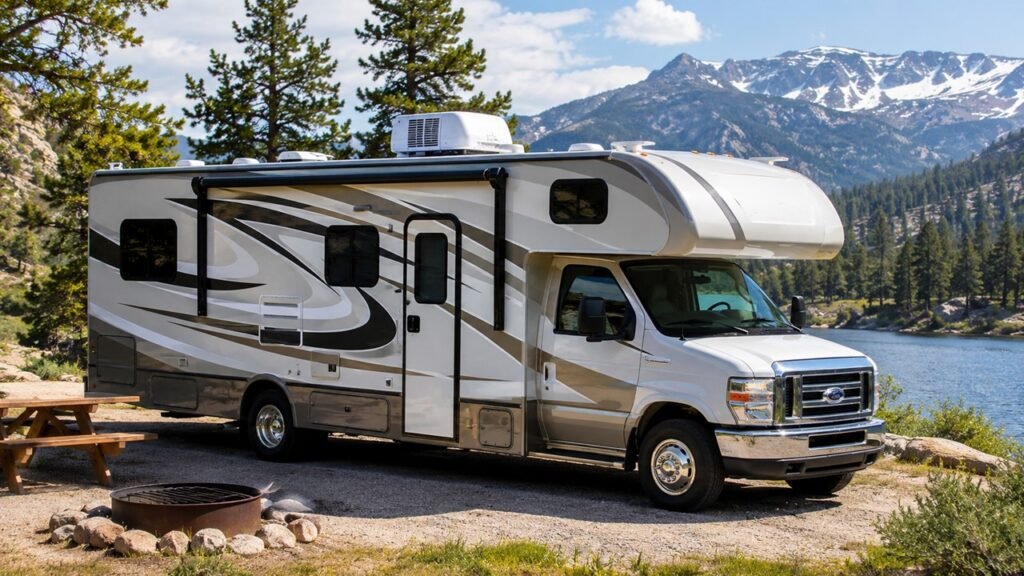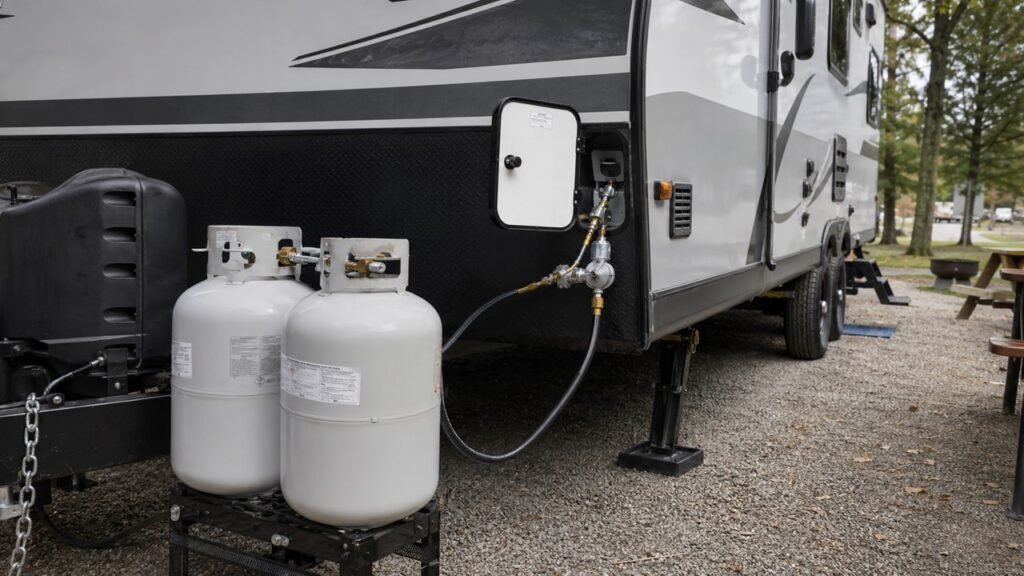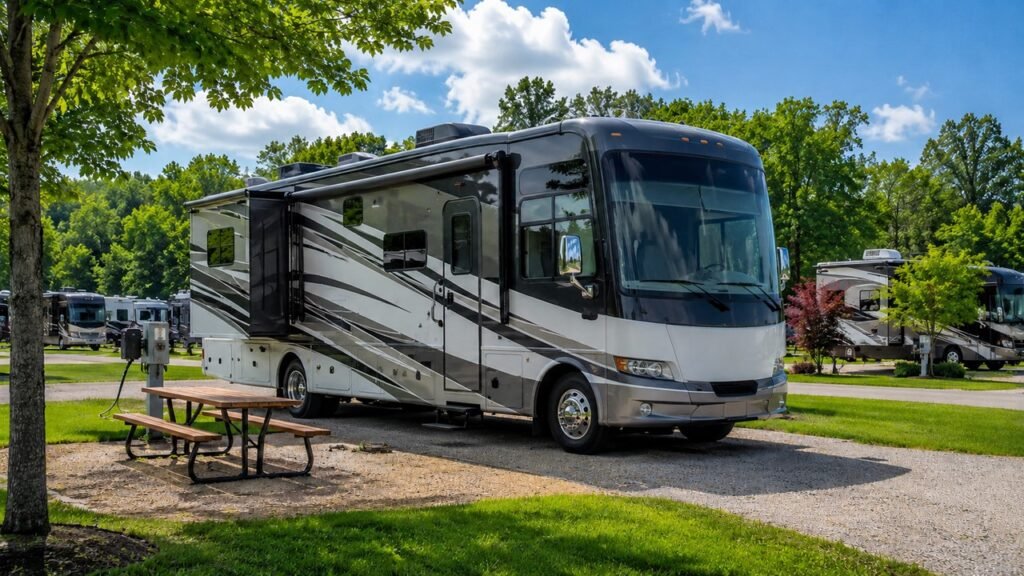
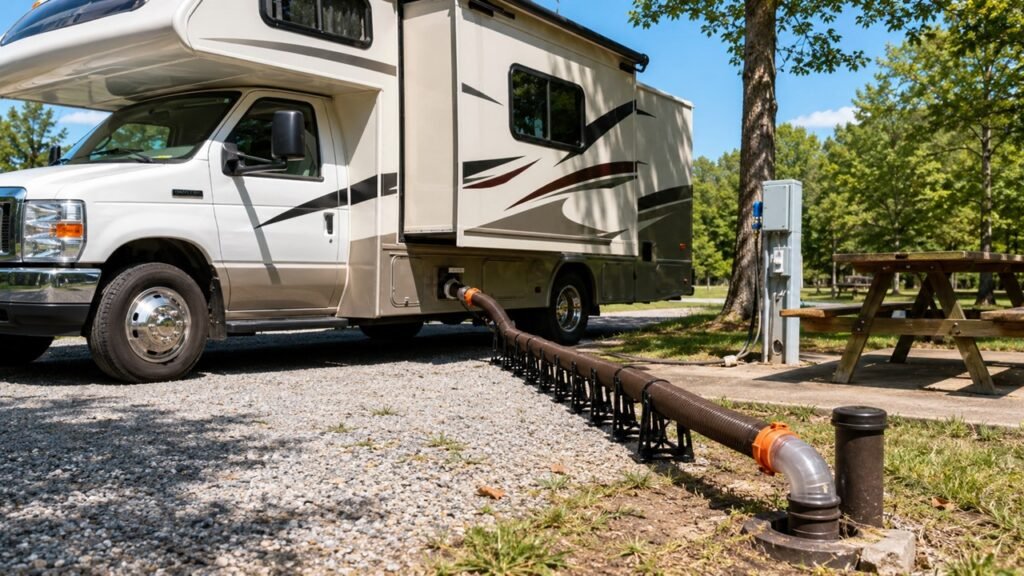
An RV sewer system works by collecting wastewater in holding tanks under the RV until you are ready to dump it. Toilet waste goes into the black tank, while sink and shower water usually goes into the gray tank. When the tanks are full enough, you connect a sewer hose to the RV’s waste outlet and drain everything into an approved dump station or campground sewer hookup.
In this guide, I’ll walk you through how the full RV sewer system works, what each tank does, how dumping works, why valve management matters, and how to avoid smells, clogs, leaks, and messy beginner mistakes.
Key Takeaways
- An RV sewer system stores wastewater temporarily in holding tanks.
- The black tank holds toilet waste, flush water, and toilet paper.
- The gray tank holds used water from sinks and showers.
- Most RV sewer systems drain by gravity, not by a pump.
- Always dump the black tank first, then the gray tank.
- Keep the black tank valve closed until you are ready to dump.
- Roof vents help sewer gases escape outside the RV.
- Proper water use helps prevent clogs, odors, and waste buildup.
- Tank sensors are helpful, but they are not always accurate.
- Sewer hoses, gloves, and tank treatments make dumping cleaner and easier.
What Is an RV Sewer System?
An RV sewer system is the wastewater side of your RV plumbing. It collects dirty water and sewage, stores it in onboard tanks, and gives you a controlled way to empty those tanks when needed.
It is easy to think of it like a home sewer system, but it works differently. In a house, wastewater usually flows straight into a city sewer line or a septic system. In an RV, that waste stays with you until you dump it at a proper location.
So, instead of constantly draining away, your RV holds wastewater in tanks mounted underneath the rig. That is why RV owners need to understand tank levels, dump valves, sewer hoses, and dumping order.
The system may sound unpleasant at first, but it is actually simple once you know the parts. Waste goes in, the tanks hold it, vents release gases, and you empty everything safely when the tanks are ready.
The Main Parts Of An RV Sewer System
Before you understand the full dumping process, it helps to know the basic parts. Most RV sewer systems are simple, but each part has a specific job.
| RV Sewer Part | What It Does | Why It Matters |
| Black Tank | Holds toilet waste and toilet paper | Stores sewage until dumping |
| Gray Tank | Holds sink and shower wastewater | Keeps used water separate from toilet waste |
| Sewer Outlet | Main drain connection outside the RV | Connects the tanks to the sewer hose |
| Dump Valves | Open and close each holding tank | Control when wastewater leaves the RV |
| Sewer Hose | Carries waste from the RV to the dump point | Makes tank dumping safe and controlled |
| Roof Vent Pipe | Lets sewer gases escape above the RV | Helps reduce odors inside the living space |
| Tank Sensors | Show tank levels on the monitor panel | Helps you know when tanks are getting full |
| Tank Flush System | Sprays water inside the black tank | Helps rinse stuck waste and residue |
These parts work together every time you use your toilet, shower, or sink. The system is not complicated, but it does need good habits to stay clean and trouble-free.
How Does An RV Sewer System Work Step By Step?
An RV sewer system works in a basic cycle. Wastewater enters the plumbing, drains into holding tanks, gases vent through the roof, and the tanks are emptied through a sewer hose.
Wastewater Enters The Correct Tank
When you flush the RV toilet, the waste drops into the black tank. This tank is designed for human waste, flush water, and toilet paper.
When you use the kitchen sink, bathroom sink, or shower, that water usually drains into the gray tank. This tank holds used water from washing hands, brushing teeth, showering, and cleaning dishes.
Most modern RVs separate black water and gray water. However, some smaller campers, older trailers, and custom van builds may have different setups. Some may have only one wastewater tank, while others may use cassette toilets or portable toilets.
Gravity Moves Waste Into The Holding Tanks
Most RV sewer systems depend on gravity. The toilet, sinks, and shower drain downward into tanks mounted below the floor.
That means there usually is not a built-in pump pushing wastewater into the tanks. Waste moves because the plumbing is sloped toward the holding tanks.
This is also one reason leveling your RV matters. If the RV is badly tilted, water may not drain properly. The shower may empty slowly, sink drains may gurgle, or waste may not settle correctly inside the tanks.
A slightly off-level RV will not usually ruin anything. But for normal camping, dumping, and draining, a reasonably level setup helps the plumbing work better.
The Tanks Store Waste Temporarily
RV holding tanks do not treat waste like a home septic system. They simply store waste until you dump them.
The black tank needs enough liquid inside to keep solids from drying out. If there is not enough water, waste can pile up under the toilet and create a clog. Many RVers call this a “pyramid plug” because solids build up in a mound inside the tank.
The gray tank also stores wastewater, but it usually fills faster than the black tank. Showers, dishwashing, and handwashing can add a lot of water quickly.
Roof Vents Release Sewer Gases
As wastewater sits in the tanks, it can produce odors and gases. RVs use vent pipes to move those gases outside.
These vent pipes usually run from the holding tanks up through the roof. When the system is working correctly, gases rise through the vent and escape above the RV instead of entering the bathroom or kitchen.
If you smell sewer odors inside the RV, the vent system may not be the only cause. The problem could also be a dry toilet seal, dirty gray tank, loose fitting, clogged vent, or bad air admittance valve under a sink.
Dump Valves Control When Tanks Empty
Your RV has dump valves near the sewer outlet. These valves hold wastewater inside the tanks until you are ready to empty them.
The black tank valve controls the black tank. The gray tank valve controls the gray tank. In many RVs, these valves are operated by pull handles located near the sewer connection.
When you pull a valve open, gravity drains that tank through the sewer outlet and into your sewer hose. When the tank is empty, you close the valve again.
The important part is knowing which valve to open first. In almost every normal dumping situation, you dump the black tank first and the gray tank second.
Black Tank Vs Gray Tank: What Is The Difference?
The black and gray tanks both hold wastewater, but they do not hold the same type of waste. Understanding the difference makes dumping, cleaning, and odor control much easier.
| Feature | Black Tank | Gray Tank |
| Holds | Toilet waste and toilet paper | Sink, shower, and dishwater |
| Odor Risk | Higher | Lower, but still possible |
| Valve Position While Camping | Usually closed | Closed or sometimes open at full hookups |
| Needs Treatment? | Usually helpful | Optional, but useful for odors |
| Dumping Order | First | Second |
| Main Problem | Clogs, odors, waste buildup | Grease, soap, food particles, hair |
The easiest way to remember it is this: the black tank handles toilet waste, and the gray tank handles used water from everything else.
Both tanks need care, but the black tank needs more attention because it contains solids.
How The Black Tank Works
The black tank is the part that worries most new RV owners, but it becomes manageable with the right routine. The key is using enough water and dumping it the right way.
What Goes Into The Black Tank?
The black tank should only receive toilet waste, flush water, and toilet paper that breaks down easily.
That means you should avoid flushing wipes, paper towels, feminine products, diapers, food scraps, grease, cotton swabs, or anything that does not dissolve quickly.
Even wipes labeled “flushable” are not a good idea in an RV. They may pass through the toilet, but they can still cause problems inside the tank or at the dump valve.
Why The Black Tank Needs Water
Water is one of the most important parts of black tank care. Without enough water, solids do not move well.
Every time you flush, use enough water to help waste travel into the tank. After dumping, it also helps to add a few gallons of water back into the black tank before using it again.
A dry black tank can create odors and clogs. It can also cause waste to stick to the bottom of the tank, especially under the toilet opening.
So, while saving water matters when boondocking, using too little water in the toilet can create a bigger problem later.
Why You Should Keep The Black Tank Valve Closed
One of the biggest beginner mistakes is leaving the black tank valve open while connected to a full-hookup campsite.
It sounds logical at first. You may think, “If I am connected to the sewer, why not let everything drain all the time?”
The problem is that liquids drain faster than solids. If the black valve stays open, the liquid can run out while solid waste stays behind. Over time, that creates a pile of waste inside the tank.
That is why the black valve should stay closed until the tank is ready to dump. You want enough liquid inside the tank to create a strong flow when you open the valve.
What Black Tank Treatments Do
Black tank treatments help control odors and break down waste. They come as liquids, packets, pods, or powders.
A treatment can make the tank smell better and help toilet paper break down more easily. However, it is not magic. It does not replace water, proper dumping, and regular rinsing.
Think of tank treatment as support. The real foundation is simple: use enough water, keep the black valve closed, dump when the tank has enough liquid, and rinse when possible.
How The Gray Tank Works
The gray tank is easier to manage than the black tank, but it can still smell bad or clog if you ignore it. Soap, grease, food particles, and hair can build up over time.
What Goes Into The Gray Tank?
The gray tank usually collects water from the kitchen sink, bathroom sink, and shower. In some RVs, it may also collect water from a washing machine.
Gray water does not contain toilet waste, but it is still dirty water. It can contain toothpaste, soap, shampoo, food residue, grease, coffee grounds, hair, and bacteria.
This is why gray water should still be dumped only in approved places. It may look cleaner than black water, but it is not the same as fresh water.
Why Gray Water Can Still Smell Bad
Many people are surprised when their gray tank starts smelling worse than expected. But once you think about what goes into it, the smell makes sense.
Food scraps can rot. Grease can stick to tank walls. Soap film can build up. Hair can trap residue near the drain. After sitting for a while, gray water can smell sour, musty, or rotten.
A gray tank smell does not always mean something is broken. Often, the tank simply needs flushing, cleaning, or better drain habits.
Using sink strainers, wiping greasy pans before washing them, and running enough water down the drains can help reduce buildup.
Should You Leave The Gray Tank Valve Open?
At a full-hookup campsite, some RVers leave the gray tank valve open. This lets shower and sink water drain continuously into the campground sewer.
That can be convenient, especially if you are staying for several days. However, there is one downside: you may not have gray water saved to rinse the sewer hose after dumping the black tank.
For beginners, the cleaner habit is to keep the gray valve closed and dump it after the black tank. That way, the soapy gray water helps flush the sewer hose.
If you do leave the gray valve open during a long stay, consider closing it the day before dumping the black tank. This lets gray water collect so you can use it for rinsing the hose afterward.
How To Dump RV Sewer Tanks Properly
Dumping RV tanks is simple once you learn the order. The main rule is black first, gray second. This keeps the process cleaner and helps rinse the sewer hose.
Step 1: Put On Disposable Gloves
Always wear disposable gloves before handling sewer equipment. Sewer caps, hoses, fittings, and dump station areas can carry bacteria even when they look clean.
It is also smart to keep hand sanitizer nearby. After dumping, wash your hands thoroughly when you have access to soap and water.
Step 2: Connect The Sewer Hose Securely
Connect one end of the sewer hose to your RV’s sewer outlet. Most RV sewer hoses use bayonet-style fittings that twist and lock into place.
Then place the other end into the dump station inlet or campground sewer connection. Make sure it is secure before opening any valves.
A clear sewer elbow can help because it lets you see when the water is running clear. A sewer hose support can also help keep the hose sloped downward, especially at a campsite.
Step 3: Dump The Black Tank First
Once the hose is connected securely, slowly pull the black tank valve open. Wastewater will begin flowing through the hose.
Let the black tank drain fully. You may hear the flow slow down and eventually stop. If you have a clear elbow, you can also see when the flow has reduced.
Do not rush this step. Giving the tank time to drain helps remove more waste.
Step 4: Close The Black Valve
After the black tank finishes draining, close the black valve completely.
This step matters because you do not want gray water flowing back toward the black tank outlet or mixing during the process. Closing the valve also helps prevent accidental leaks after dumping.
Make sure the handle is pushed in firmly before moving to the gray tank.
Step 5: Dump The Gray Tank Second
Now open the gray tank valve. The gray water will flow through the same sewer hose.
This is why dumping the gray tank second is helpful. The soapy water from your sinks and shower helps rinse black tank residue from the inside of the hose.
Once the gray tank is finished draining, close the gray valve completely.
Step 6: Rinse The Hose And Store It Separately
After both tanks are dumped, carefully disconnect the sewer hose from the RV. Keep the dump station end connected if you are rinsing the hose.
Use a dedicated sewer rinse hose, not your drinking water hose. Run water through the sewer hose if the dump station allows it.
Then drain the hose as much as possible, cap it, and store it in a separate compartment, bumper tube, or storage bin. Never store sewer gear with your freshwater hose.
Step 7: Add Water And Treatment Back Into The Black Tank
After dumping, add water back into the black tank. A few gallons is usually enough to keep the bottom wet and ready for the next use.
Then add your preferred black tank treatment if you use one. This helps control odor and keeps waste from drying against the tank surface.
This small step can prevent a lot of future problems.
RV Sewer Dumping Checklist
A checklist makes the dumping process easier, especially when you are new. Follow the same order every time until it becomes routine.
- Wear disposable gloves.
- Confirm the sewer hose is in good condition.
- Connect the sewer hose to the RV outlet.
- Secure the other end into the dump station inlet.
- Keep the hose sloped downward.
- Open the black tank valve first.
- Let the black tank fully drain.
- Close the black tank valve.
- Open the gray tank valve second.
- Let gray water rinse the hose.
- Close the gray tank valve.
- Make sure both valves are fully closed.
- Disconnect the hose carefully.
- Rinse the sewer hose if allowed.
- Replace all caps securely.
- Store sewer gear separately.
- Wash or sanitize your hands afterward.
The more consistent you are, the less stressful dumping becomes. After a few trips, it feels like just another normal RV task.
How Often Should You Empty RV Sewer Tanks?
Most RVers empty their sewer tanks when they are around two-thirds full or before leaving a campsite. This gives the tanks enough liquid to drain with force, especially the black tank.
How often you need to dump depends on your tank size, number of people, toilet use, shower habits, dishwashing habits, and whether you are connected to full hookups.
For example:
- A solo traveler may go several days to a week before dumping.
- A couple may dump every few days or once a week.
- A family may need to dump every one to three days.
- Long showers can fill the gray tank quickly.
- Dishwashing can fill the gray tank faster than expected.
- Boondockers often fill wastewater tanks before running out of supplies.
- Small campers usually need dumping more often than large motorhomes.
The black tank should not be dumped too early unless you are ending a trip. If there is not enough liquid inside, solids may not drain well.
The gray tank can fill surprisingly fast, especially if multiple people shower inside the RV. Many new RV owners discover that the gray tank fills before the black tank.
Tank sensors can help, but do not trust them blindly. RV tank sensors often become inaccurate because toilet paper, grease, soap film, or residue sticks to the probes.
Over time, you will learn your own pattern. After a few trips, you will know roughly how long your tanks last.
Should RV Sewer Valves Stay Open Or Closed?
Valve management is one of the most important parts of RV sewer care. The black valve and gray valve should not always be treated the same way.
Keep The Black Tank Valve Closed
The black tank valve should stay closed until you are ready to dump.
This is true even when your RV is connected to a campground sewer hookup. Leaving the valve open allows liquids to drain away while solids stay behind.
That can lead to clogs, odors, and the dreaded pyramid plug. It can also make the tank harder to clean later.
A closed black valve lets waste and water collect together. When you finally open the valve, the liquid creates a stronger flow that helps carry solids out.
The Gray Tank Valve Depends On Your Setup
The gray valve is more flexible. At a full-hookup site, some RV owners leave it open so sink and shower water drains continuously.
That can work, but it is not always the best habit. If the gray valve stays open all the time, you lose the gray water that could help rinse your sewer hose after dumping the black tank.
Also, leaving the gray valve open can sometimes allow sewer odors from the campground connection to travel up the hose. A proper hose setup and water-filled P-traps help reduce that risk, but it can still happen.
Best Valve Setup For Beginners
For beginners, the simplest method is to keep both valves closed and dump as needed.
This gives you better control, helps prevent black tank problems, and saves gray water for rinsing the sewer hose.
Once you gain experience, you can adjust your routine. But if you are unsure, closed valves are usually safer and cleaner.
Common RV Sewer System Problems
Most RV sewer problems come from poor water use, open black valves, wrong toilet paper, dirty tanks, worn seals, or blocked vents. The good news is that many issues are preventable.
Bad Sewer Smells Inside The RV
A sewer smell inside your RV does not always mean the black tank is full. There are several possible causes.
The toilet bowl seal may be dry. The gray tank may be dirty. A sink P-trap may have dried out. The roof vent may be blocked. An air admittance valve under the sink may have failed. A sewer hose connection may also be loose.
Start with the simple checks first. Add water to the toilet bowl, run water into sink drains, make sure dump valves are closed, and check whether the smell is stronger near the bathroom or kitchen.
Black Tank Clogs
Black tank clogs usually happen because there is not enough water in the tank. They can also happen when people flush wipes, thick toilet paper, paper towels, or hygiene products.
Another common cause is leaving the black tank valve open at a sewer hookup. That lets liquid drain away while solids remain inside.
To prevent clogs, use plenty of water, keep the valve closed, use fast-dissolving toilet paper, and rinse the tank after dumping when possible.
Gray Tank Odors
Gray tank odors are often caused by grease, food scraps, soap residue, toothpaste, hair, and bacteria.
The smell may come from the tank itself or from a sink drain. If the smell is strongest near the kitchen sink, the gray tank or drain line may need cleaning.
Use sink strainers to catch food particles. Avoid pouring grease down the drain. If you wipe plates and pans before washing, the gray tank stays cleaner.
Inaccurate Tank Sensors
RV tank sensors are famous for giving wrong readings. A black tank may show full even after dumping. A gray tank may show partly full when it is empty.
This usually happens because residue sticks to the internal sensors. In the black tank, toilet paper and waste can cling to the probes. In the gray tank, grease and soap film can cause false readings.
Rinsing the tank, using enough water, and occasional tank cleaning can help. Still, many experienced RVers also track tank levels by usage instead of relying only on the monitor panel.
Leaking Sewer Hose Or Fittings
A leaking sewer hose can turn a normal dumping job into a stressful mess.
Before dumping, inspect your hose for cracks, pinholes, loose fittings, and worn seals. Also check the RV sewer cap and bayonet lugs.
A high-quality sewer hose is worth it. Cheap hoses can work for a while, but they may crack faster, especially if they are dragged, stepped on, or stored in harsh sunlight.
How To Maintain An RV Sewer System
Maintaining an RV sewer system is mostly about building simple habits. You do not need to overcomplicate it, but you do need to stay consistent.
- Use plenty of water when flushing the toilet.
- Keep the black tank valve closed until dumping.
- Dump the black tank before the gray tank.
- Use RV-safe or fast-dissolving toilet paper.
- Avoid flushing wipes, paper towels, or hygiene products.
- Keep grease out of sink drains.
- Use sink strainers to catch food scraps.
- Rinse the black tank after dumping when possible.
- Clean the gray tank occasionally to reduce odors.
- Add water back into the black tank after dumping.
- Use tank treatment if odors become a problem.
- Check roof vents for leaves, nests, or blockages.
- Inspect sewer hoses before every trip.
- Replace cracked hoses, weak fittings, and worn seals.
- Store sewer gear away from freshwater gear.
The most important habit is water use. A black tank with enough water is much easier to dump and much less likely to clog.
RV Sewer System Beginner Mistakes To Avoid
A few small mistakes can create big sewer problems. If you avoid these common errors, your RV sewer system will be much easier to manage.
- Leaving the black tank valve open at a full-hookup site.
- Dumping the gray tank before the black tank.
- Using too little water when flushing.
- Flushing wipes, even if they say “flushable.”
- Using thick household toilet paper that does not break down.
- Dumping the black tank when it is almost empty.
- Forgetting to close valves after dumping.
- Pulling the wrong valve first.
- Using a cracked or weak sewer hose.
- Forgetting to secure the sewer hose connection.
- Rinsing sewer gear with your freshwater hose.
- Storing sewer hoses near drinking water hoses.
- Ignoring gray tank odors.
- Trusting tank sensors without considering actual usage.
- Waiting too long to replace worn fittings and seals.
The biggest mistake is leaving the black valve open. If you remember nothing else, remember this: black tank closed until dumping time.
RV Sewer System Safety And Sanitation Tips
RV sewer work is not difficult, but it does involve bacteria and wastewater. A clean routine keeps you, your RV, and your campsite safer.
- Always wear gloves when handling sewer equipment.
- Keep a separate hose for sewer rinsing.
- Never use your drinking water hose for sewer cleanup.
- Avoid touching your face while dumping tanks.
- Keep sewer hose fittings off picnic tables and clean surfaces.
- Use a sewer hose support at full-hookup sites.
- Make sure the hose slopes toward the sewer inlet.
- Secure the sewer hose before opening any valves.
- Sanitize sewer handles, caps, and storage bins regularly.
- Replace damaged hoses before they leak.
- Wash your hands thoroughly after dumping.
- Only dump at approved dump stations or sewer hookups.
It also helps to keep your sewer gear organized. Store gloves, clear elbows, hose supports, caps, and rinse tools together so you are not searching for parts at the dump station.
Do All RVs Have The Same Sewer System?
Not all RV sewer systems are exactly the same. Most motorhomes, travel trailers, and fifth wheels use black and gray holding tanks, but smaller rigs may be different.
For example, some camper vans use cassette toilets instead of black tanks. A cassette toilet has a removable waste container that you carry to an approved dump point.
Some small campers use portable toilets. These are simple and removable, but they have limited capacity.
Some van lifers use composting toilets. These separate liquids and solids, so they do not work like a normal RV black tank.
Larger RVs may have more than one gray tank. For example, one gray tank may serve the shower and bathroom sink, while another serves the kitchen.
Some RVs also use macerator systems. A macerator grinds waste and pumps it through a smaller hose. This setup is not as common as gravity dumping, but it can be useful in certain motorhomes or custom installations.
So, the basic idea is usually the same: collect wastewater, store it, and dump it safely. But the exact setup depends on your RV type, size, and plumbing design.
RV Sewer System Vs Home Septic System
An RV sewer system is often called an RV septic system, but that name can be misleading. An RV does not treat waste like a real home septic system.
| Feature | RV Sewer System | Home Septic System |
| Purpose | Temporary waste storage | Waste treatment and drainage |
| Tank Location | Under the RV | Underground |
| Emptying Method | Manual dumping | Pumped professionally when needed |
| Waste Movement | Mostly gravity | Plumbing and septic drainage |
| Maintenance | Frequent dumping and rinsing | Long-term septic care |
| Portability | Moves with the RV | Fixed in one location |
The biggest difference is that an RV holding tank is temporary. It is not meant to break down and process waste for long periods.
That is why RV tanks need regular dumping, rinsing, and odor control. Treat your RV sewer system like a small mobile holding system, not like a permanent septic setup.
What Products Do You Need For An RV Sewer System?
You do not need every sewer accessory on day one, but a few basic items make dumping safer, cleaner, and easier.
- RV sewer hose
- Sewer hose support
- Clear sewer elbow
- Disposable gloves
- Black tank treatment
- RV-safe toilet paper
- Dedicated sewer rinse hose
- Sewer hose storage tube or bin
- Replacement sewer cap
- Replacement hose seals
- Tank rinser or built-in flush connector
- Sink strainers for food particles
- Disinfecting wipes or spray for cleanup
If you are just starting out, focus on the essentials first. A strong sewer hose, gloves, clear elbow, and tank treatment are a good starting setup.
As you camp more often, you can add hose supports, extra fittings, and cleaning tools based on your style of travel.
Simple RV Sewer System Flow Diagram
A simple flow diagram makes the RV sewer system easier to understand. The system is basically two wastewater paths that meet at the main sewer outlet.
Toilet → Black Tank → Black Valve → Sewer Outlet → Sewer Hose → Dump Station
Sinks/Shower → Gray Tank → Gray Valve → Sewer Outlet → Sewer Hose → Dump Station
Holding Tanks → Roof Vent Pipe → Sewer Gases Exit Above RV
The toilet drains into the black tank. The sinks and shower drain into the gray tank. Both tanks empty through the same sewer outlet, but you control them with separate valves.
That is why the dumping order matters. Black water goes first, and gray water goes second to help rinse the hose.
Conclusion
An RV sewer system may seem intimidating at first, but it becomes simple once you understand the basic flow. Wastewater drains into holding tanks, the tanks store it temporarily, roof vents release gases, and dump valves let you empty everything through a sewer hose.
The black tank handles toilet waste, while the gray tank handles sink and shower water. Both tanks need care, but the black tank needs the most attention because it contains solids.
The best routine is simple: use enough water, keep the black valve closed, dump the black tank first, dump the gray tank second, rinse when possible, and store sewer gear separately from freshwater gear.
Once you follow that process a few times, dumping your RV tanks becomes less stressful. It is not the most glamorous part of RV life, but it is one of the most important parts of keeping your rig clean, comfortable, and ready for the next trip.
Related FAQs
Does An RV Sewer System Use A Septic Tank?
Not exactly. An RV uses holding tanks, not a true septic tank. The tanks store wastewater until you dump them at an approved location.
Should I Dump My Black Tank After Every Trip?
Yes, it is usually best to dump and rinse the black tank after a trip, especially if the RV will sit unused for several days or weeks.
Why Do You Dump The Black Tank Before The Gray Tank?
You dump the black tank first because gray water helps rinse sewage residue out of the sewer hose afterward.
Can I Leave My RV Sewer Hose Connected All The Time?
At a full-hookup campsite, you can leave the hose connected. However, you should still keep the black tank valve closed until dumping time.
Why Does My RV Smell Like Sewer?
Common causes include a full tank, dry toilet seal, dirty gray tank, clogged roof vent, leaking fitting, or a bad air admittance valve.
Can I Put Regular Toilet Paper In An RV Toilet?
It is safer to use RV-safe or fast-dissolving toilet paper. Thick household toilet paper can break down slowly and contribute to clogs.
How Full Should The Black Tank Be Before Dumping?
It is best to dump the black tank when it is at least two-thirds full. This gives enough liquid flow to help carry solids out.
Is Gray Water Safe To Dump On The Ground?
No. Gray water should only be dumped where allowed, such as a dump station or approved sewer hookup.
What Happens If I Leave The Black Tank Valve Open?
Liquids drain out while solids stay behind. This can create a waste buildup inside the tank and cause clogs, odors, and difficult cleaning.
How Do I Know When My RV Sewer Tanks Are Full?
You can use the tank monitor panel, but sensors are not always accurate. Over time, you should also track tank use based on your camping habits.

Michael Carter is an experienced RV traveler who focuses on practical outdoor trips across the States. He writes clear, step-by-step guides and realistic reviews based on real travel needs. His aim is to help RV and camper owners plan informed, simpler journeys with confidence.